
What is Rocket Recovery?
Rocket Recovery helps you determine the performance characteristics of a model rocket using a particular engine and recovery device. It allows you to create, customize, and select a rocket to launch — then uses real weather data to predict where your rocket will land, displaying the result on a live map.
Know before you launch where it will land. Rocket Recovery runs 100 simulated computations per second of powered and coast flight to give you an accurate landing prediction, taking into account wind speed and direction, launch angle, motor thrust curve, and recovery device drag.
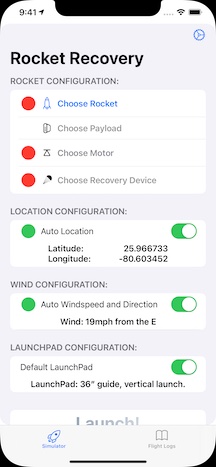
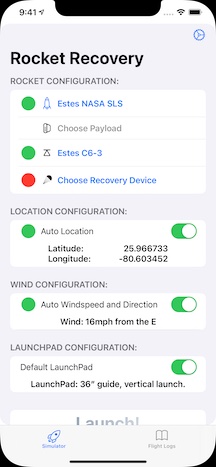
First Launch
When you first open Rocket Recovery you will see the End User License Agreement and Privacy Policy screens. Please read and acknowledge each one — you will then be taken to the Rocket Setup screen.
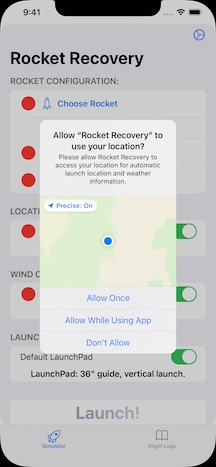
On first use you will be prompted to allow Rocket Recovery access to your precise location. This is required to track your position on the recovery map, obtain accurate local weather data, and project the rocket's landing zone. If you decline, the app will not function correctly. You can change this permission at any time in iOS Settings → Rocket Recovery → Location.
Settings
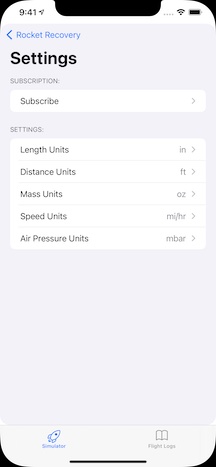
Tap the gear icon in the upper right of the Rocket Setup screen to open Settings. You can configure units independently for each measurement type — length, distance, mass, speed, and air pressure can each use a different unit system.
Rocket Setup
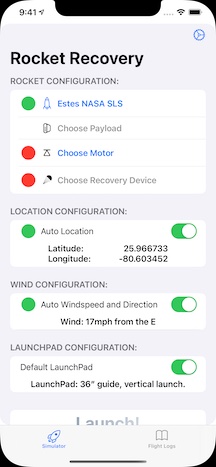
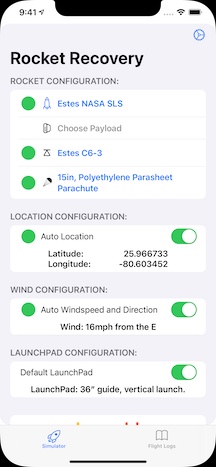
The Rocket Setup screen is your launch control panel. It shows the current state of your four required configuration items: rocket, motor, recovery device, and location. Items with a red indicator still need to be configured; green means ready.
Adding your first rocket
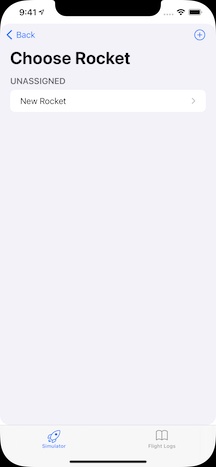
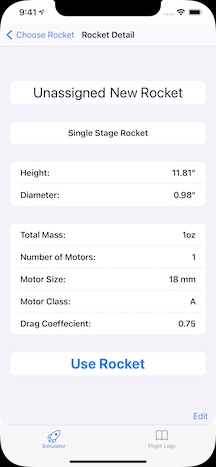
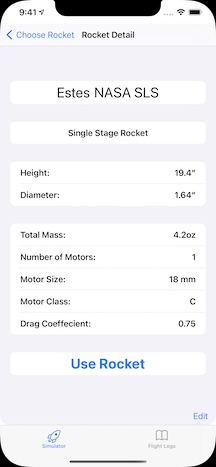
Tap Choose Rocket to open the rocket list. When you first use the app the list will be empty. Tap + in the upper right to add a new blank rocket, then tap it to open the Rocket Detail screen.
Editing a rocket
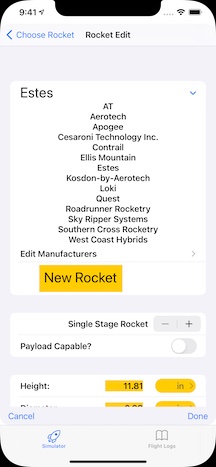
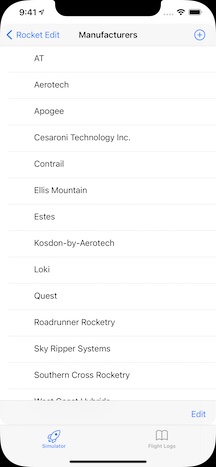
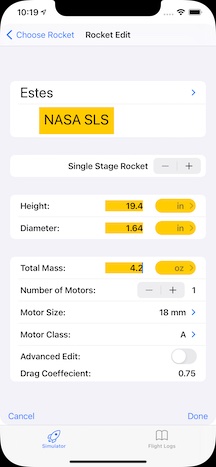
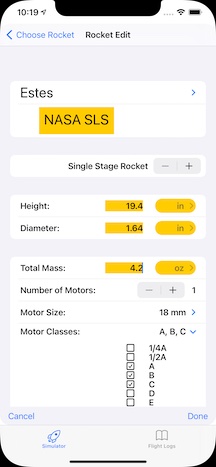
In the Rocket Detail screen, tap Edit (lower right). Tap Unassigned to open the Manufacturer Picker and choose or add your rocket's manufacturer. If your manufacturer isn't listed, tap Edit Manufacturers → + to add it.
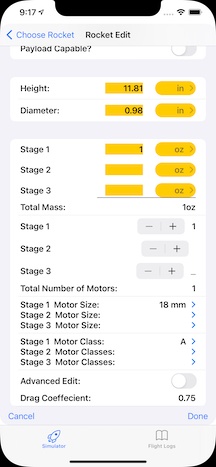
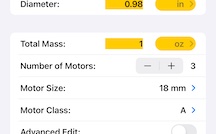
Fill in the rocket's height, diameter, total mass, number of motors, motor size, and motor class. Use the disclosure triangles to select motor classes and diameters. When finished, tap Done then Use Rocket to return to the Setup screen with your rocket selected.
Choosing a Motor
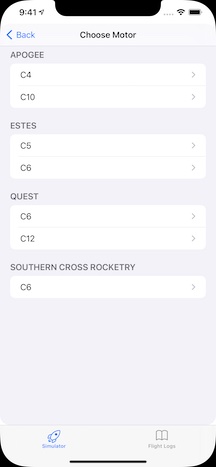
Tap Choose Motor to open the Motor Picker. The list is automatically filtered to show only motors that match your rocket's configured motor size and class — no scrolling through irrelevant options.
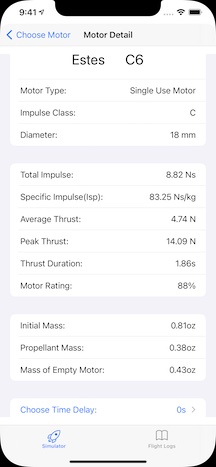
Tap a motor to view its detail page, which shows full specifications from the motor database: impulse class, diameter, total and specific impulse, average and peak thrust, thrust duration, and masses. This data is read-only and sourced from the motor database.
Setting the time delay
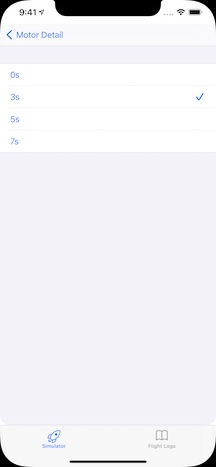
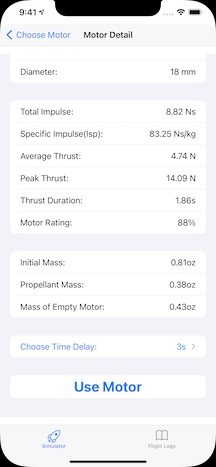
At the bottom of the Motor Detail screen, tap Choose Time Delay to select the ejection charge delay for your motor (e.g. 3 seconds for a C6-3). Tap Use Motor to confirm and return to the Setup screen.
Recovery Device
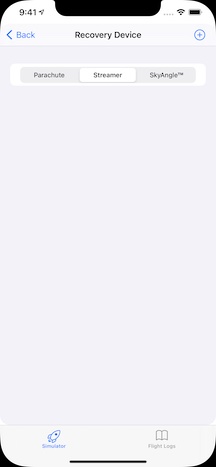
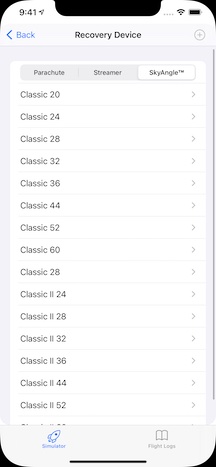
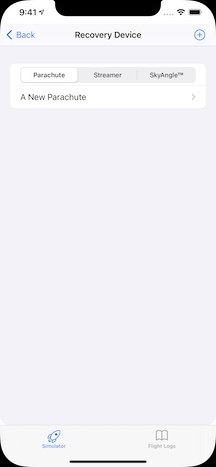
Tap Choose Recovery Device to open the Recovery Device Picker. Three tabs are available: Parachute, Streamer, and SkyAngle™.
Parachutes & Streamers
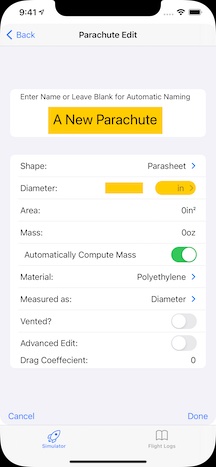
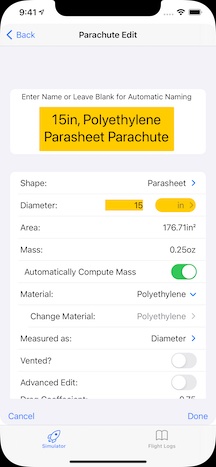
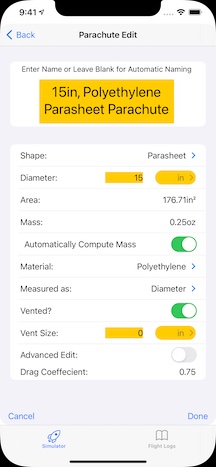
Tap + to add a new parachute or streamer. For a parachute, enter or leave the name blank for automatic naming, then configure:
Shape
Parasheet, hexagonal, octagonal, or other common shapes.
Diameter & Area
Enter the diameter in your preferred unit. Area is calculated automatically.
Material
Choose the parachute material (e.g. Polyethylene, Nylon, Ripstop).
Vented
Toggle on if the parachute has a spill hole, and enter the vent size.
Tap Done then Use Parachute to return to the Setup screen.
SkyAngle™ parachutes
The SkyAngle™ tab comes fully stocked with the complete SkyAngle product line and cannot be edited. New models are added via app updates.
Launch & Flight Data
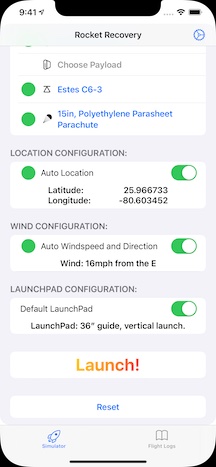
Once all four configuration items are green and your location and weather have loaded, the Launch! button becomes active. Tap it — Rocket Recovery runs 100 computations per second of powered and coast flight as it transitions to the Flight Data screen.
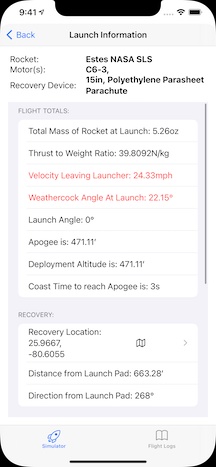
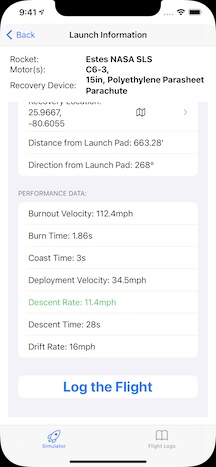
The Flight Data screen shows computed performance values including thrust-to-weight ratio, apogee altitude, deployment altitude, burnout velocity, descent rate, and drift distance. Red values indicate potentially dangerous conditions — pay close attention to these before flying.
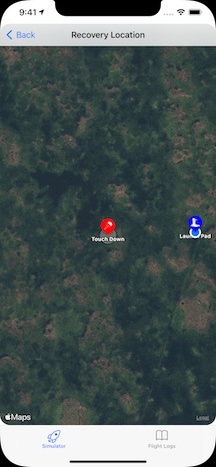
Tap the recovery location coordinates to open the Recovery Map, which shows your predicted touchdown point, the launch pad, and your current live position. Your position updates in real time as you move toward the landing area.
Flight Log
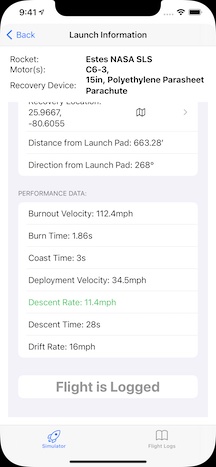
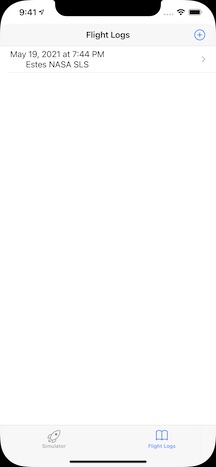
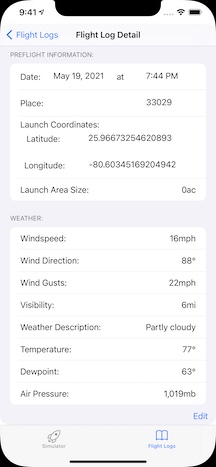
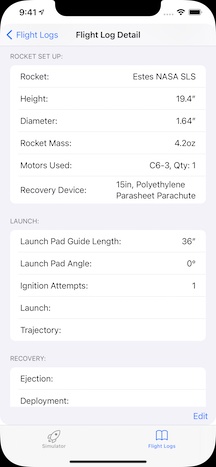
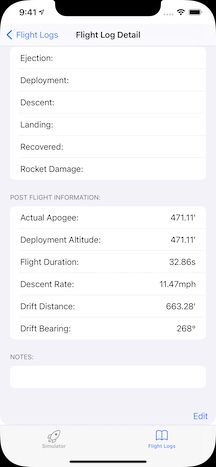
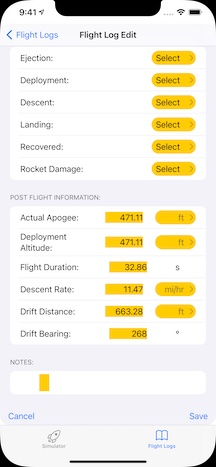
After viewing flight data, tap Log the Flight at the bottom of the screen. A new log entry is created, pre-filled with all computed performance values, weather conditions at launch time, and your rocket/motor/recovery configuration. The button changes to Flight is Logged once saved.
Tap Log the Flight at the bottom of the Flight Data screen to create a log entry pre-filled with all computed values, weather, and configuration. The button changes to Flight is Logged once saved.
Access all logs by tapping the Flight Logs icon in the tab bar. The Flight Log Detail screen is divided into sections: pre-flight information, weather at launch, rocket setup, launch configuration, recovery observations, and post-flight computed data. Tap Edit to add your own observations — ejection, deployment, descent quality, landing, recovery, and any rocket damage.
Advanced Features
Drag coefficients
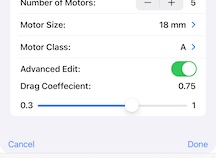
In the Rocket Detail, Parachute Detail, and Streamer Detail screens, enable Advanced Edit to adjust the drag coefficient. Only change this if you understand what you are doing. If Rocket Recovery consistently over- or under-predicts flight distances, tuning the drag coefficient can improve accuracy.
Payloads
Once a rocket is selected on the Setup screen, a Choose Payload option appears. Payloads are optional and are added and configured the same way as other components.
Multi-stage rockets
In the Rocket Detail edit screen, use the stage stepper to add stages. Each stage is fully configurable independently. The Rocket Detail screen expands to show all stages when more than one is present.
Cluster rockets
Tap the motor count stepper within a stage to configure the number of motors for that stage.
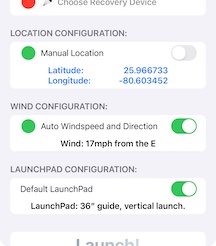
Custom launch location
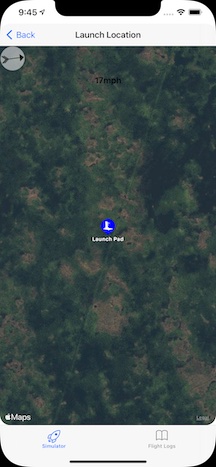
Slide the Auto Location switch to manual. The latitude and longitude fields turn blue — tap them to open the Launch Location Map. Pan and zoom to your desired launch site. Current wind speed and direction are displayed at the top to help with pad placement.
Wind configuration
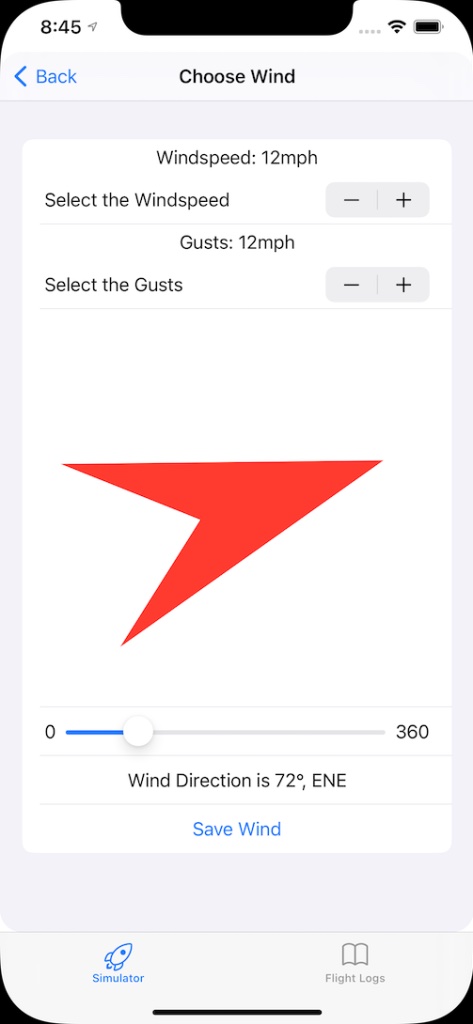
Slide the wind switch to manual to override the weather data. Adjust windspeed and gusts with the steppers and direction with the slider. Gusts must be equal to or greater than windspeed — both will adjust in lockstep if you violate this. Tap Save Wind to apply your changes; without saving, the original weather data is used for the launch.
Launch pad configuration
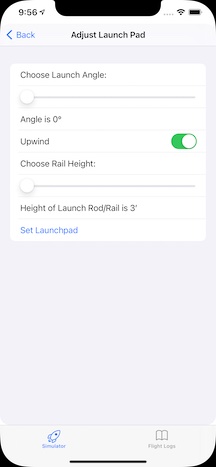
Slide the launch pad switch to open Launch Pad Configuration. You can set the launch guide angle (up to 20°) and guide length (up to 8 feet). A longer guide improves stability at launch — if the Velocity Leaving Launcher value appears red, increasing guide length is often the fix.
Need help?
Send us an email and we'll get back to you.
[email protected]We're a small team and read every message.